Introduction to Configuration 🌟#
Once you’ve successfully installed Blowfish and run your first hugo server command, it’s time to personalize your website! 🎨
There are many ways to go about this, but in this guide, I’ll show you the basics and the steps I’ve taken. Keep in mind that I’m still not a professional 🧐, and feel free to check the original documentation for more details!
Blowfish is organized with configuration files like params.toml, languages.toml, and a few others. These files are the heart of your website, so grab your best editor and let’s get started! 🚀
You can also use
npx blowfish-toolsto guide you, but I suggest doing it yourself to better understand what you’re doing! 😄
Basic Files 📂#
Setting Up Hugo: Your Site’s Backbone 💻 (Hugo.toml)#
Before starting to create your amazing website, you need to set up a few things. First, make sure to edit the hugo.toml file:
# config/_default/hugo.toml

baseURL = "https://your_domain_example" # You can leave it like this for now, I'll explain in another article, but this is needed to expose your website on internet.
languageCode = "en" # Set this to the main language you will be using for your website
Adding Languages to Your Hugo Site 🌎 (Languages.*.toml)#
Setup your language#
Next, configure the language settings for Blowfish, as we did for Hugo earlier. This file is one of the most important in your configuration. It allows you to customize things like your logo and your social links… 😎
- Make sure to use the same language as you wrote before in
languageCode. If there’s a file namedlanguages.en.toml, you can use it if your main language is English. Otherwise, you’ll need to create another file.
# config/_default/

touch languages.lang.toml
For example, if I want to write in French, I’ll create a
languages.fr.toml🇫🇷
Sample configuration of language file#
- Once your file is created, here’s a sample configuration to start with a good-looking base for the parameters:
# config/_default/languages.en.toml

languageCode = "en"
languageName = "Language" # English, for instance
title = "Your Super Title" # The title that will be displayed in the top bar

[params] # Global parameters for your website
  displayName = "EN"
  isoCode = "en"
  rtl = false
  dateFormat = "2 January 2006" # The date format display
  logo = "logo.png" # Your website's logo
  # secondaryLogo = "img/secondary-logo.png"
  # description = "My awesome website"
  # copyright = "Copy, _right?_ :thinking_face:"
- Now that we have succesfully configured the core of the file, here are the configuration for you’re identity, the author section :
# config/_default/languages.en.toml

[params.author]
   name = "Your name"
   email = "Your email"
   image = "Your logo"
   headline = "I'm cool"
   bio = "My bio is cool too"
   links = [
     { email = "mailto:your-email" },
     { github = "your-github-link" },
#     { kickstarter = "https://www.kickstarter.com/profile/username" },
     { linkedin = "your-linkedin" },
#    ..........
The image should be placed in the site’s
assets/folder. Links will be displayed in the order they are listed. Your aborescence should look just like bellow
quickstart/
├── assets/
│   ├── logo.png
│   ├── banner.jpg
│   └── icon.svg
└── config/
    ├── hugo.toml
    ├── languages.en.toml
    └── params.toml
Remember, you can experiment with anything you want! All you need to do is run hugo server once, and it will automatically refresh every time you make a change.
Tweaking Your Theme’s Settings ⚙️ (params.toml)#
The params.toml file is the main file to control how the theme will function.
# config/_default/

touch params.toml
Here is a sample configuration to help you get started. All you need to do is replace the placeholder values with the values of your choice.
If your current configuration looks different, simply copy the following example and replace it with your chosen values. I’ll explain the most important key concepts. But keep in mind that the Blowfish documentation is the best place to configure by yourself.
Sample configuration for parameters#
# config/_default/params.toml

colorScheme = "fire"  # The color scheme to use for your site. "fire" is a predefined theme.
defaultAppearance = "dark"  # The default appearance of your site, can be "light" or "dark".
autoSwitchAppearance = true  # If true, users will have the ability to toggle between light and dark mode.

enableSearch = true  # Enables the search bar on your website.
enableCodeCopy = false  # If enabled, users will be able to copy code snippets with a "Copy" button.

replyByEmail = false  # Allows visitors to reply to blog posts via email.
mainSections = ["ops", "others", "devops"]  # Define the main sections for your website.

disableImageOptimization = false  # If true, images won't be optimized by Hugo.
disableTextInHeader = false  # If true, removes text content from the header.

defaultBackgroundImage = "openwat.gif"  # Default background image used for the site.
defaultFeaturedImage = "defaultpic.jpg"  # Default featured image for articles.

giteaDefaultServer = "https://git.fsfe.org"  # The default server URL for Gitea.
forgejoDefaultServer = "https://v8.next.forgejo.org"  # The default server URL for Forgejo.

[header]
  layout = "fixed"  # The layout of the header. Options: "basic", "fixed", "fixed-fill", "fixed-gradient", "fixed-fill-blur".

[footer]
  showMenu = true  # Whether to display the footer menu.
  showCopyright = true  # Show the copyright information in the footer.
  showThemeAttribution = true  # Show the theme attribution in the footer.

  showAppearanceSwitcher = true  # Show the appearance switcher (light/dark mode) in the footer.
  showScrollToTop = true  # Display a "Scroll to Top" button in the footer.

[homepage]
  layout = "background"  # The layout of the homepage. Options: "page", "profile", "hero", "card", "background", "custom".
  homepageImage = "openwat.gif"  # The image used for specific layouts like "hero" and "card".
  showRecent = true  # Whether to show recent posts on the homepage.

  showRecentItems = 6  # The number of recent items to display on the homepage.
  showMoreLink = true  # If true, a link to view more items will be shown on the homepage.
  showMoreLinkDest = "/others/"  # The destination URL for the "Show More" link.
  cardView = true  # Whether to display items in card view.

  cardViewScreenWidth = true  # If true, the card view adapts based on the screen width.
  layoutBackgroundBlur = true  # When layout is "background", enables background blur effect.
Layouts#
First, I advice you to choose one of the layout for your homepage :
Blowfish provides a fully flexible homepage layout. There are two main templates to choose from with additional settings to adjust the design.
The layout is controlled by the homepage.layout section in params.toml configuration file.
To enable it, in the homepage sections, put the layout to the value you want:
# config/_default/params.toml

[homepage]
  layout = "background"  # The layout of the homepage. Options: "page", "profile", "hero", "card", "background", "custom".
Here are all the different style :
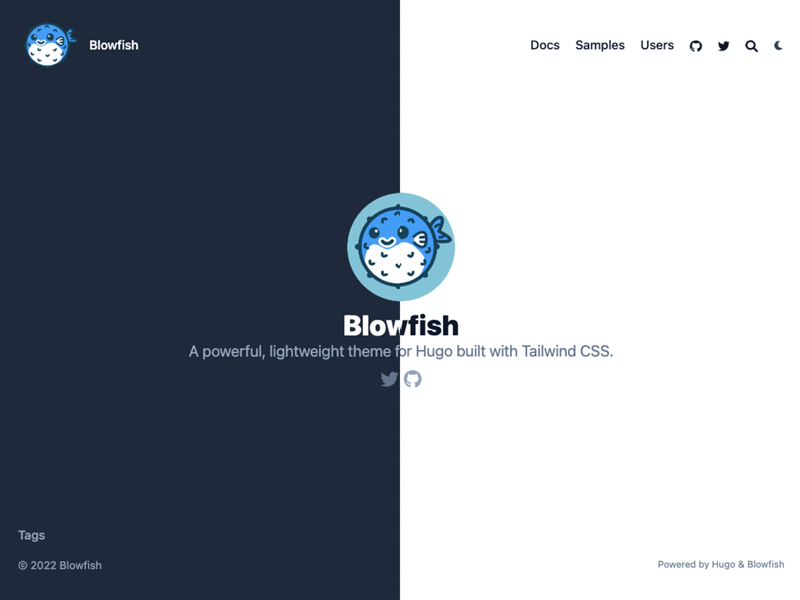
- Profile layout The default layout, usefull for blog such as this website.
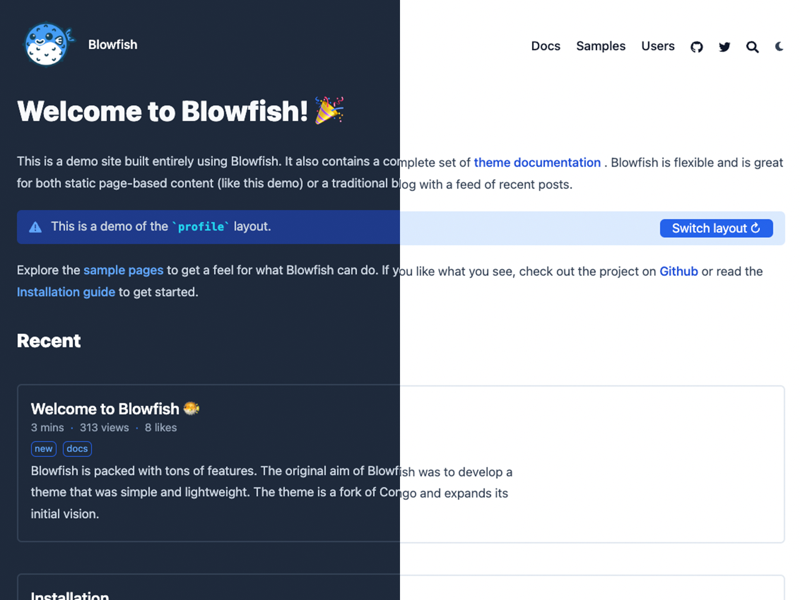
- Page layout It display the normal content page without really any special style. It’s good for a static website. You can scroll to see the content of your markdown.
- Card layout The card layout is an extension of the page layout. It provides the same level of flexibility by also displaying your markdown content and adds a card image to display visual content.
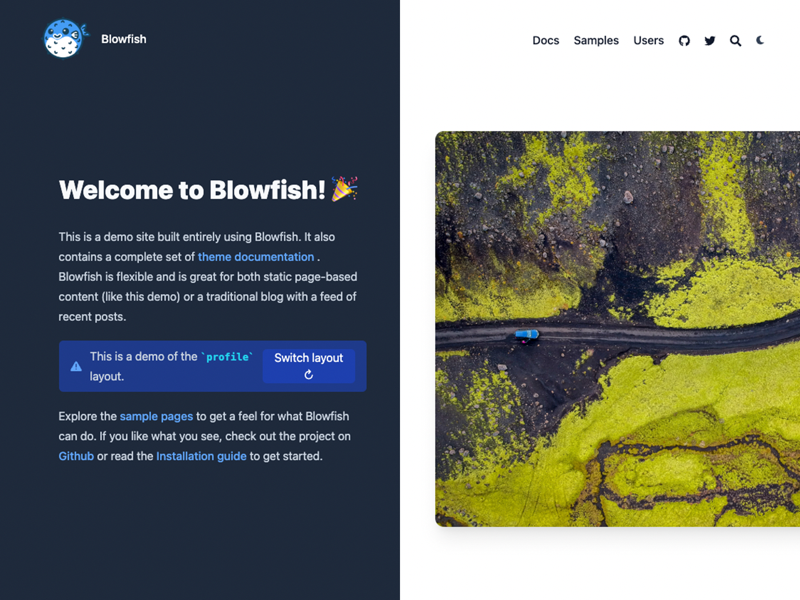
- Hero layout The hero layout brings together ideas from the profile and card layouts.
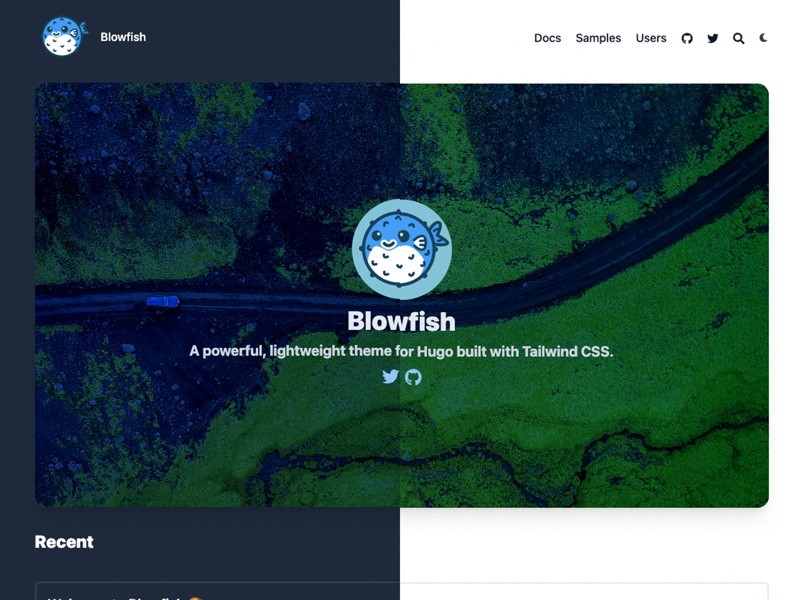
- Background layout
The one that I use at the moment, this is a smooth version of the hero layout.
You need to enable the homepage.layout and fix it to hero and also the homepage.homepageImage.
# config/_default/params.toml

defaultBackgroundImage = "image-or-gif" # used as default for background images

[homepage]
  layout = "background" # valid options: page, profile, hero, card, background, custom
  homepageImage = "image-or-gif" # used in: hero, and card

- Custom layout
If these layouts doesn’t suit you, you have the option to provide your own custom layout. Or to check if there are some on
github😄
All layout have the possibility to include the
recent articles, simply set thehomepage.showRecentsetting to true :
# config/_default/params.toml

[homepage]
  showRecent = true  # Whether to show recent posts on the homepage.
  showRecentItems = 6  # The number of recent items to display on the homepage.
Color Scheme#
Once you’ve choosen the layout, you can now choose the color scheme. The Color Scheme is made to personalize the colors of the theme. For instance, I use the Fire scheme :
Blowfish ships with a number of colour schemes out of the box. To change the scheme, simply set the colorScheme theme parameter :
# config/_default/params.toml

colorScheme = "blowfish" # avocado , fire , ocean..
All the themes available are here. I advise you to check and choose the theme that fit the best to you 😄
Main section#
The Main section parameters is really important, it will allows you to choose which article you wan’t to appear in your front page. Personnaly I choose :
# config/_default/params.toml

mainSections = ["ops", "others", "devops"]  # Define the main sections for your website.
It means that only the article with the tags ops, others and devops will be displayed in your homepage. Generally if you have any article that don’t show and you don’t know why, it comes from this parameters.
Tags are keywords you use in your content to categorize it. This is related to the content, you can assign tag to a specific article.
Article Section#
Once the homepage is configured. We need to configure the article section, which is the page that will be applied to every content you make.
For the basic configuration, here is my config file :
# config/_default/params.toml

[article]
  showDate = true
  #showViews = false
  #showLikes = false
  #showDateOnlyInArticle = false
  #showDateUpdated = false
  defaultBackgroundImage = "openwat.gif"
  showAuthor = true
  # showAuthorBottom = false
  showHero = true
  heroStyle = "background" # valid options: basic, big, background, thumbAndBackground
  layoutBackgroundBlur = true # only used when heroStyle equals background or thumbAndBackground
  layoutBackgroundHeaderSpace = true # only used when heroStyle equals background
  showBreadcrumbs = false
  showDraftLabel = true
  showEdit = false
  # editURL = "https://github.com/username/repo/"
  editAppendPath = true
  seriesOpened = false
  showHeadingAnchors = true
  showPagination = true
  invertPagination = false
  showReadingTime = true
  showTableOfContents = true
  showRelatedContent = true
  relatedContentLimit = 3
  showTaxonomies = true
  showAuthorsBadges = false
  showWordCount = true
  # sharingLinks = [ "linkedin", "twitter", "bluesky", "mastodon", "reddit", "pinterest", "facebook", "email", "whatsapp", "telegram"]
  showZenMode = false
This is a pretty basic content configuration, but feel free to modify it and experiment to see what suits your style the best! 😄
Key Things You Should Know:
- showHero and heroStyle: These options allow you to add a wallpaper or display image to your content. The “Hero” image will be displayed as the background when clicked on in the content.
- Related Content: If enabled, it will show articles with the same
tags. It works exactly like theMain section paramatersthat i’ve talked before - Other
showoptions allow you to display specific info like likes, views, date updated, etc.
That’s all for the article section! Pretty simple, right? 😎
Other Sections#
This is the final part of the params.toml. There are some sections that are less critical but still useful:
- list
- taxonomy
- term
These are additional “side” sections you can include. I’ll leave it up to you to explore if they’re useful for your setup. 🔧✨
Setting up Your Website’s Menu and Navigation 🌐#
Now, once you’ve configured the params, languages, and hugo, it’s time to set up your menu!
# config/_default/

touch menus.lang.toml
The menu is the top bar of your website that will allow your users to navigate through your pages smoothly. By default, it will appear in the header (at the top of the page), but don’t worry—you can customize its position if needed.
The menu file and the languages file both work similarly. In both, you will need to specify the language of your website. For example, if you’re creating a French version of your site 🇫🇷, you’ll need to do it like this:
You should have :
├── languages.fr.toml
├── menus.fr.toml
In this file, you will need to create Sections such as :
# config/_default/params.lang.toml

[[main]]
  name = "About me"
  pageRef = "others/welcome"
  weight = 10
- Name : the name of the section
- pageRef : where will it send the user, it should be the same as in your
contentthat we will see in the next article. - weight : the weight is used to prioritize the sections, the less has the priority
If you’d like to create nested menus, like I did with my Posts section, here’s how you can do it:
# config/_default/params.lang.toml
[[main]]
  name = "Parent"
  weight = 20

[[main]]
  name = "sub-menu 1"
  parent = "Parent"
  pageRef = "samples"
  weight = 20

[[main]]
  name = "sub-menu 2"
  parent = "Parent"
  pageRef = "samples"
  weight = 20
Don’t forget to add the parent attribute to the child items in your menu to link them properly. It’s an important step to ensure smooth navigation!
You can also create a subnavigation menu, which will display a new line right after the first one, showing sub-categories. All you need to do is specify [[subnavigation]] instead of main when setting it up.
# config/_default/params.lang.toml

[[subnavigation]]
  name = "An interesting topic"
  pageRef = "tags/interesting-topic"
  weight = 10
Once that’s done, you’ll be ready to create content in multiple languages and display them according to the user’s preference. 📚
To summarize ✨#
We’ve covered the essential steps to set up your Hugo site, including configuring the core files, adding languages, fine-tuning your theme, and setting up navigation. By now, you should have a solid foundation to build upon and customize your website to suit your needs.
Here is the repository on github I used, if anything is missing here, feel free to reach me :
Feel free to explore the documentation further, and don’t hesitate to experiment with your configuration. The possibilities are endless! If you run into any issues or have questions, remember—help is just a message away. 😊
What’s Next? 🚀#
Now that everything is configured, you can personalize your website to suit your needs.
Now that you’ve got the basics down, we can dive deeper into:
- Adding content, like blogs or projects 📝
- Organizing your content with tags 🔖
- The shortcodes that Blowfish offers ⚙️
We will deep dive into these subjects in the next article here !